Pressure Cooker Mexican Venison

By GrowingDeer,

Instant Pot with chopped venison


Ingredients:

1 tablespoon canola oil
1 medium onion chopped (about 2/3 cup)
2/3 cup chopped green pepper
2 cloves minced garlic
1 ½ cups water
4 beef bouillon cubes
2 frozen venison ball roasts (about 2.5 lbs each)
2 tablespoons chili powder
2 tablespoons cumin
½ stick butter

Directions:

  1. Turn the Instant Pot on sauté mode. Add oil and spread around. Then add onion, green pepper and minced garlic. Saute for a couple of minutes.
  2. Unwrap the beef bouillon cubes and put in the water. Add to pot.
  3. Add the frozen venison ball roasts.
  4. Sprinkle the roasts with the cumin and chili powder.
  5. Put the butter on top of the roasts. Put lid on and close/seal the pot.
  6. End the sauté mode. Change the setting on the Instant Pot to manual with a time of 80 minutes. Make sure the vent is pushed to seal. The meat will be cooked to the right internal temperature at 60 minutes, but the tenderness comes with that last 20 minutes of pressure cooking.
  7. Let the pressure release naturally then remove the lid. Take the venison out and place on cutting board. Chop into ½” – 1” pieces. Put the venison back in the pressure cooker and mix with the remaining liquid. You can use the keep warm feature or take the meat out, let it cool and put in the refrigerator to eat later.

Serving suggestions: flour tortillas, refried or black beans, lettuce, onions, salsa, or cheese – anything you like and use as a burrito filling! The meat could also be used in your favorite Mexican casserole!

  Category: Recipes
  Comments: Comments Off on Pressure Cooker Mexican Venison

A Venison Recipe: Fast, Easy, Tender, Delicious

By GrowingDeer,

We eat a lot of venison at our house. Deer meat is on the menu several days each week: venison loin, tenderloin, roast, ground venison, venison breakfast sausage, Italian venison sausage (great in spaghetti sauce!), etc. Like many family cooks I always make enough for leftovers. Leftover venison roasts are often chopped up for use in burritos, stir fry, soups, stews, casseroles or simply as sandwich meat. The slow cooker/Crock-Pot has always been my go-to method for cooking venison. Cooking venison in a slow cooker always resulted in tender, flavorful meat. The secret to success in a slow cooker is to make sure there is plenty of liquid (chicken broth is my favorite) to cover the venison. Click here for one of my favorite venison roast recipes for the Crock-Pot.

Vension ball roast cooked in an Instant Pot

The one problem with the slow cooker is that it is SLOW. If I forget to put something on early in the morning then we are out of luck for supper as most Crock-Pot recipes need to cook a minimum of 8 – 10 hours. I had heard that the new electric pressure cookers were cutting cooking times and making tender, flavorful meats. I decided to get one after talking to some friends and watching some videos online. I  learned that they are not like the scary old stove top pressure cookers!

I was amazed at how well my first attempt at pressure cooking venison turned out. I even chose the cut of meat that is the most difficult to make tender, the venison ball roast.  I took meat from the freezer around 9:00 a.m. and before noon I had a fantastic lunch ready with very little effort! The venison was completely frozen when it went into the Instant Pot. The result was tender, flavorful meat just perfect for burritos! I think it tasted much better than anything I have ever cooked in a Crock-Pot. If you have an electric pressure cooker (Instant Pot) you can try my recipe:

Pressure Cooker Mexican Venison Recipe

1 tablespoon canola oil
1 medium onion chopped (about 2/3 cup)
2/3 cup chopped green pepper
2 cloves minced garlic
1 ½ cups water
4 beef bouillon cubes
2 frozen venison ball roasts (about 2.5 lbs each)
2 tablespoons chili powder
2 tablespoons cumin
½ stick butter

  1. Turn the Instant Pot on sauté mode. Add oil and spread around. Then add onion, green pepper and minced garlic. Saute for a couple of minutes.
  2. Unwrap the beef bouillon cubes and put in the water. Add to pot.
  3. Add the frozen venison ball roasts.
  4. Sprinkle the roasts with the cumin and chili powder.
  5. Put the butter on top of the roasts. Put lid on and close/seal the pot.
  6. End the sauté mode. Change the setting on the Instant Pot to manual with a time of 80 minutes. Make sure the vent is pushed to seal. The meat will be cooked to the right internal temperature at 60 minutes, but the tenderness comes with that last 20 minutes of pressure cooking.
  7. Let the pressure release naturally then remove the lid. Take the venison out and place on cutting board. Chop into ½” – 1” pieces. Put the venison back in the pressure cooker and mix with the remaining liquid. You can use the keep warm feature or take the meat out, let it cool and put in the refrigerator to eat later.

Serving suggestions: flour tortillas, refried or black beans, lettuce, onions, salsa, or cheese – anything you like and use as a burrito filling! The meat could also be used in your favorite Mexican casserole!

I hope you enjoy this as much as we do. I have to close this recipe/blog post by giving a big thank you to my friend Veronica. She has guided me through learning the Instant Pot and is a gourmet cook and an artist in the kitchen. Thanks Veronica!

If you’re unfamiliar with the Instant Pot there are tons of videos and recipes online. Take the time to watch a few and then get that Instant Pot out of the cabinet and start cooking! I know I will be using it a lot more after making this easy venison roast!

Tracy

  Category: Hunting Blog
  Comments: Comments Off on A Venison Recipe: Fast, Easy, Tender, Delicious

Planning, Practicing And Planting: 3 Things To Do Now To Prepare For Deer Hunting – Episode #405

By GrowingDeer,

Getting ready for deer season in GrowingDeer episode 405

New Video

Not all hunting and habitat management plans are developed in the field or the office! Watch as Daniel and Grant visit with landowners about wildlife management at the Bass Pro Fall Classic – in store! Then on to the bow range where they share tips to prepare for opening day of bow season. Also, with rain in the forecast, watch for an easy, quick way to plant a small food plot.

Click Here To Watch Now

bow hunter shoots at a buckShort Clip:

Where do you aim when bow hunting? Find out why Grant aims at the lower third!


Watch Now


two young men broadcasting food plot seed

New Weekly Blog:

Internships are a great way to gain experience in the wildlife field. Meet the two new interns at The Proving Grounds in this week’s blog!


Click Here

BoneView trail camera reader

Tip of the Week:

Checking cameras in the field can be a great way to save time and check the aim of the camera.

Wildlife Interns: Hands On Experience Managing Whitetail Habitat And More

By GrowingDeer,

I have loved white-tailed deer and deer hunting since I was a very young boy. I have never wanted to be anything but a deer biologist. I think the key to being successful in any field is to have a passion for the line of work and seek the best training to prepare. To be a wildlife biologist that focuses on deer management, I strongly suggest students find ways to gain experience and make relationships with practicing deer managers. I consider gaining experience just as important as the coursework associated with obtaining a degree.

Over the past 15 years here at the Proving Grounds we have been blessed with mentoring and training 39 different interns. Our current interns are Tyler (Ty) McKinney and Weston (Wes) Mason. We asked the guys to tell us a little about themselves so our viewers can get to know them better.

two young men broadcasting food plot seed

Ty is from Louisville, Illinois. He attended North Clay High School. Through high school Ty worked on his family cattle farm (beef market) and for a local 12,000 acre crop production farm in southern Illinois. Ty says, “Being able to work at The Proving Grounds is a true blessing and dream come true. I spent the majority of my senior year in high school watching every GrowingDeer episode.” He prefers to bow hunt as he finds this to be more of a challenge! He says, “Bow hunting allows you as the hunter to draw closer to the land and test your patience while studying the animal movements.” One of his most memorable hunting experiences was when he guided his younger brother to tagging his first whitetail in the fall of 2016. Ty’s hobbies are four-wheeler riding, farming, shooting bows and skeet shooting. Tyler is driven to do better every day and strives to learn from his mistakes. After his internship with GrowingDeer is finished he would like to go home to southern Illinois to manage/sell hunts on his family land. He thanks both his Mom and Dad for always pushing him to do his best and setting high goals for him, knowing he could reach them.

Wes is from Opdyke, Illinois. He graduated from Mount Vernon Township High School then attended the University of Louisiana at Monroe where he earned a Master’s of Science in Wildlife Biology. Wes spent the summer of 2016 interning with the SCA as a Shorebird Intern at the USFWS Long Island National Wildlife Refuge Complex. Wes says, “I prefer bow hunting because of the process of dialing in your bow over the off season to ensure you have the accuracy and precision to put the arrow where it needs to be. The challenge of being much closer to your prey is very exciting.” His favorite hunting experience has been waterfowl hunting in the Louisiana rice fields where he saw thousands of ducks overhead. A unique characteristic of Wes is that he is left handed – the only thing he does right handed is shoot a bow/gun! His hobbies and interests are related to being outside in general, seeing new places and watching Cardinals baseball. Wes says, “My primary drive is the desire to learn; increased knowledge brings an increased appreciation to whatever it is you are learning about.” He hopes to get a job related to the management of game animals (preferably deer or waterfowl) and be involved in increasing public knowledge of conservation and land stewardship. Wes would like to extend his thanks to the following folks: Dr. Kim Tolson from ULM; his Dad, Rob; his Mom, Rynda; his sister, Hannah; and his girlfriend, Amanda.

We look forward to spending more time with these guys this fall. Hopefully, we’ll be sharing some of their bow hunts as they help us reduce the deer herd here at The Proving Grounds!

GrowingDeer together,

Grant

  Category: Hunting Blog
  Comments: Comments Off on Wildlife Interns: Hands On Experience Managing Whitetail Habitat And More

Grunt Calling! Get Tuned Up! – Episode #404

By GrowingDeer,

Bucks in velvet and James Harrison using a grunt call

New Video

Grant and Daniel take advantage of velvet bucks feeding in soybeans and scout for hit list bucks! We catch up with James Harrison to learn more about one of our most important deer hunting tools – the grunt call! Plus, find out what new habitat projects the GrowingDeer Team have started!

Click Here To Watch Now

Chase tagged this nice November buckShort Clip:

“Bonus” bucks are always great! Watch as Chase White grunts in a great bonus buck and punches his 2016 tag!


Watch Now


Bucks in a food plot during daylight

New Weekly Blog:

Trail camera surveys are a great tool for gathering important herd information. This can help managers/hunters better manage their herds and create hunting strategies for the upcoming season. Find out more in the blog!


Click Here

Checking a trail camera near a Code Blue scent attractant

Tip of the Week:

Mock scrapes and synthetic scent can be a great way to monitor bucks on trail cameras, even during the early season!

Trail Cameras: A Great Tool For Deer Hunters

By GrowingDeer,

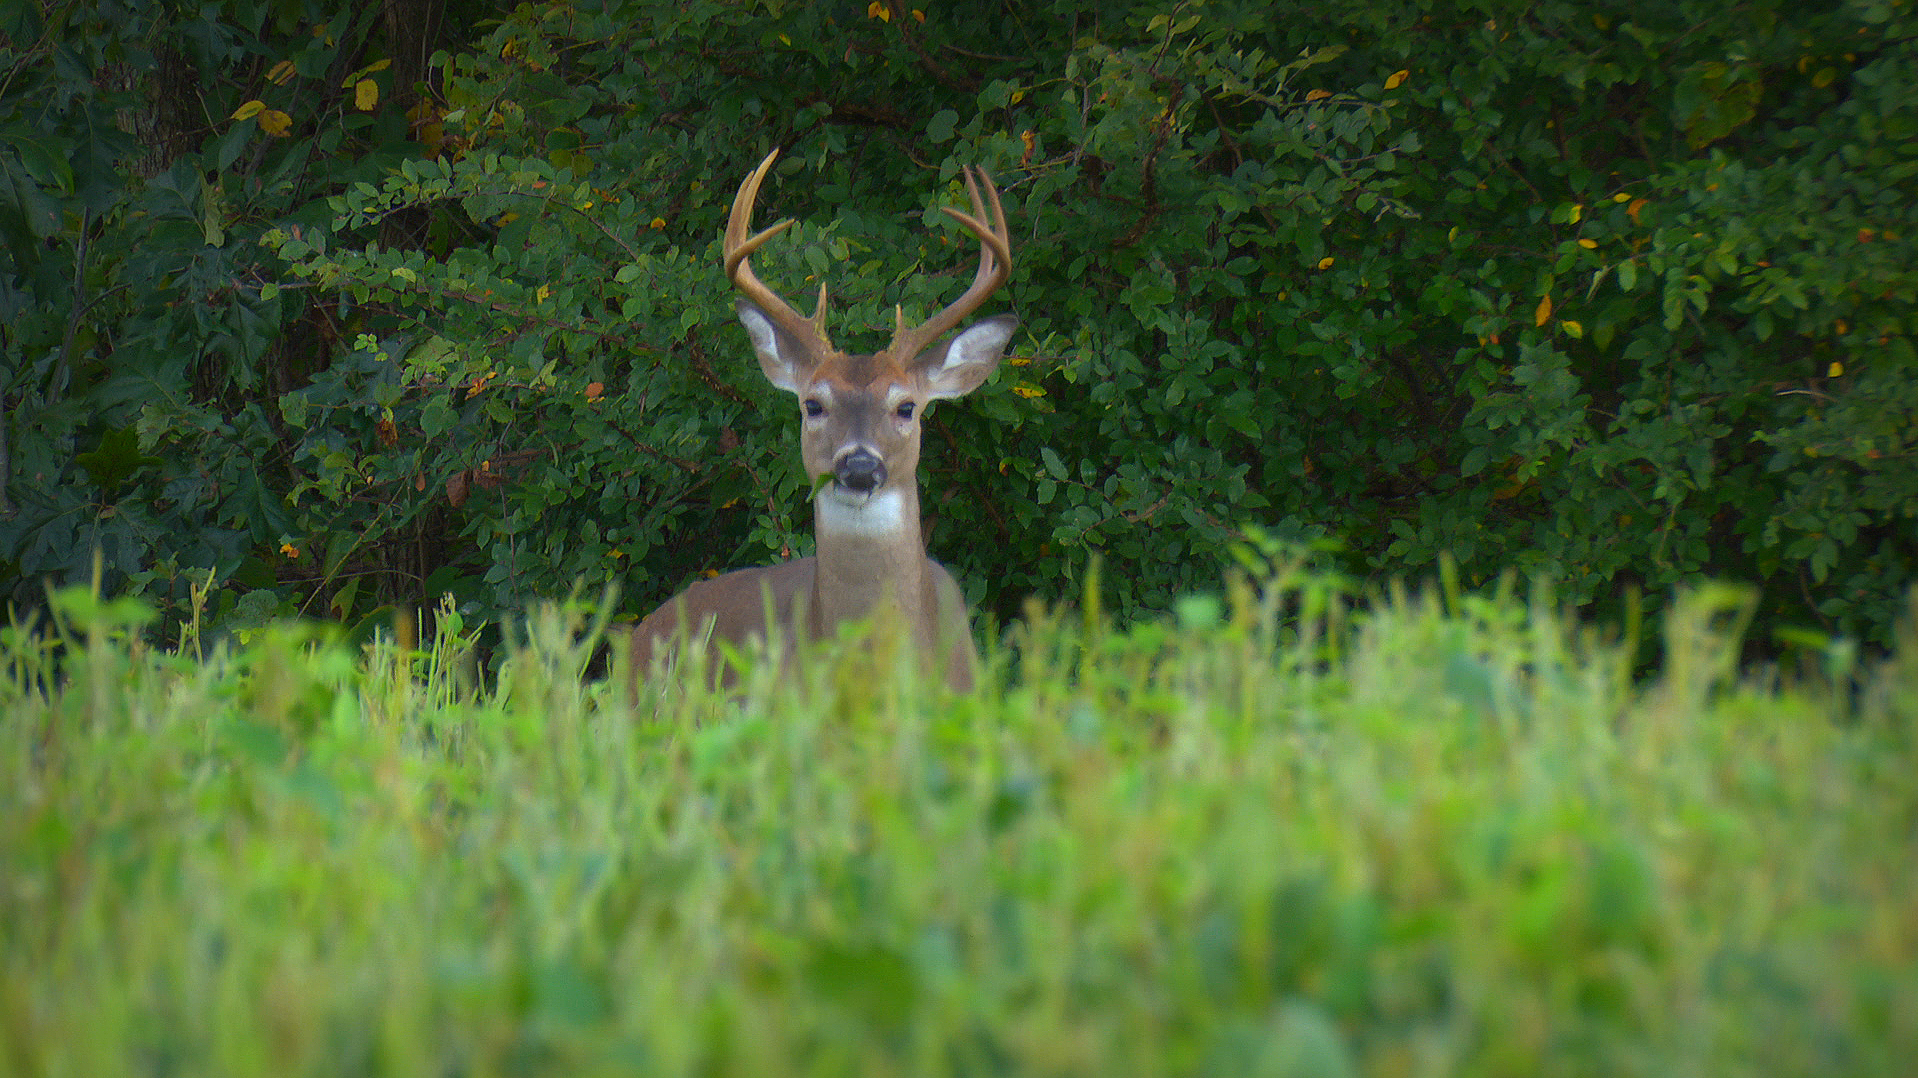
Deer hunters across the nation are gearing up for the upcoming deer season. For many hunters, gearing up also includes getting a better idea of the bucks and does that are on their hunting property. A trail camera survey has been shown to be the most accurate method to determine the number of deer, the age class of bucks, and the number of fawns per doe on a specific property. If you are interested in running a trail camera survey on your deer herd, see the detailed instructions of how to conduct a trail camera survey.

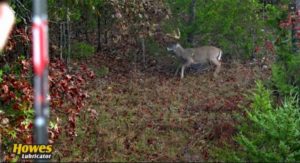
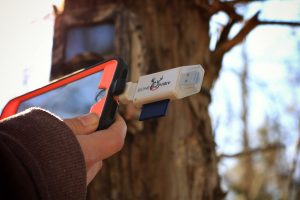
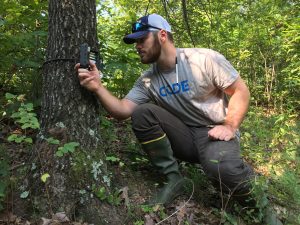
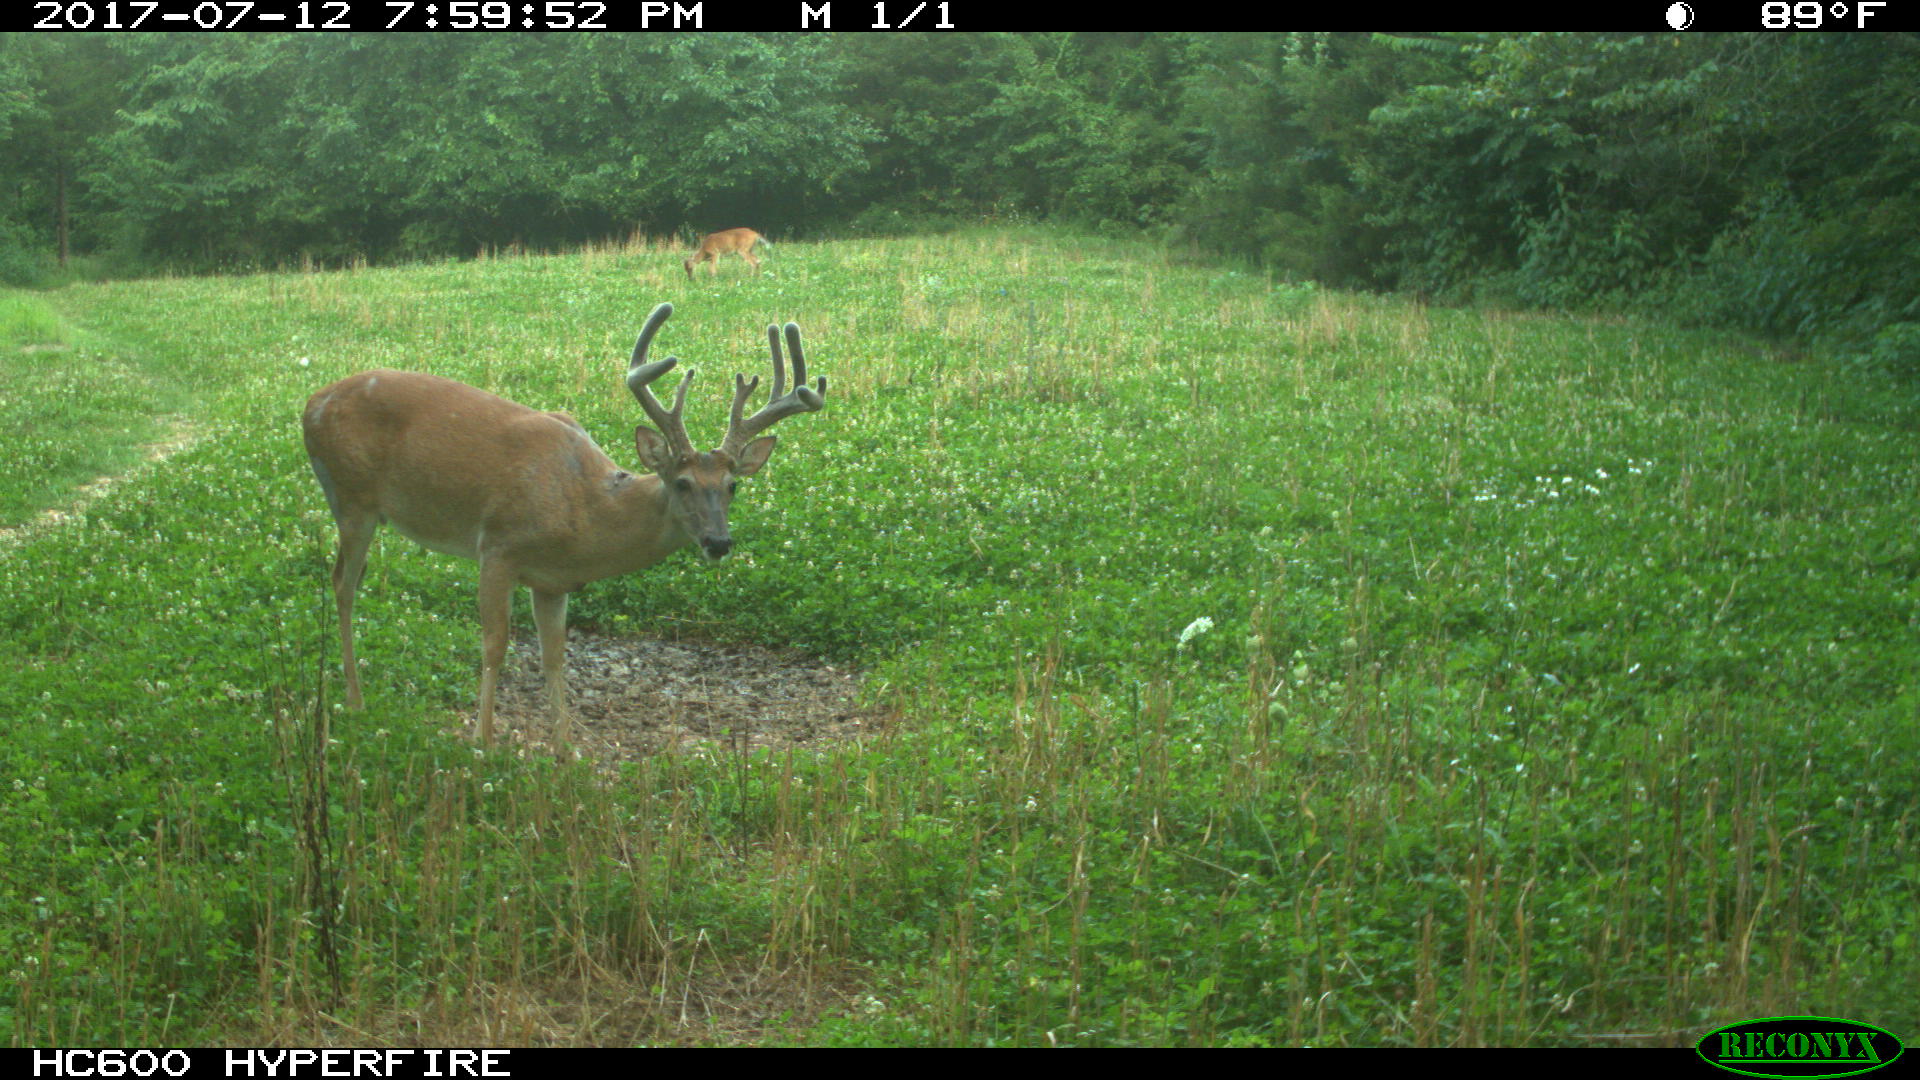
The first step for a hunter to get more familiar with his deer is to place trail cameras out. We always put ours near attractants or overlooking a food plot. That’s the easy part of conducting a trail camera survey. Pulling the cards and looking at all the deer pictures is fun! For a trail camera deer survey, looking at each picture close enough to uniquely identify each buck can be very labor intensive. We usually end up looking at the same pictures many times to confirm the buck is the same (or different) as in other pictures. Antlers are unique, like fingerprints.


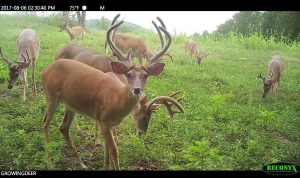
A very accurate estimate of the total population and herd demographics can be obtained after identifying each individual buck, the number of times that buck was photographed, and the total number of does and fawns appearing in the pictures.

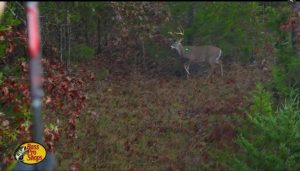
With the hard work completed, there’s still more valuable information that can be gained from these photos! Pay very close attention to which mature bucks tend to be more active during shooting light! Those bucks will usually be much easier to tag than bucks that only show up at camera sites after dark.

I also pay close attention to how the bucks, especially mature bucks, respond to each other. I look for mature bucks that are more active during daylight than other bucks AND show signs of being aggressive at the camera site. One sign can be the buck is usually the first to show up among other bucks in the bachelor group. The aggressive bucks are often photographed chasing other bucks away from the camera site.

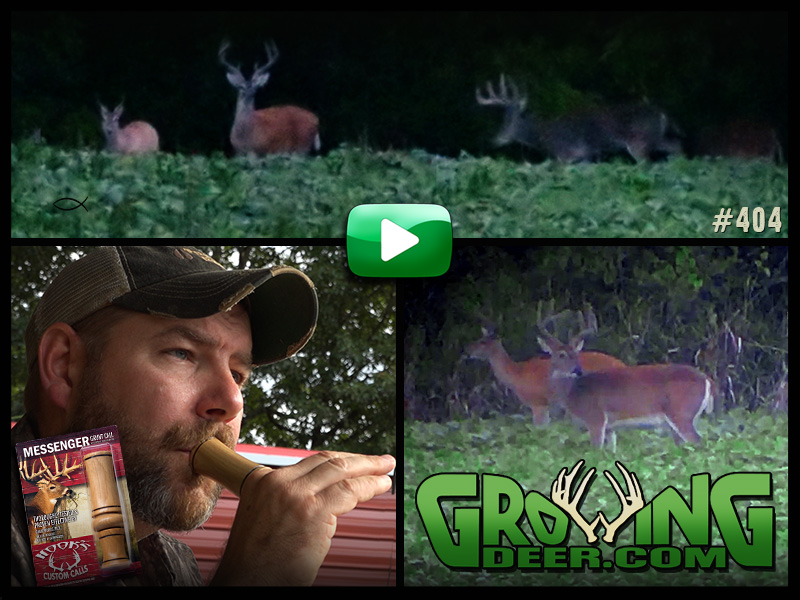
These aggressive bucks tend to respond much better to grunt calls, rattling and decoys. I’ll gladly spend my time hunting for an aggressive buck versus a buck that has larger antlers but shows sign of being totally nocturnal. Such bucks may be practically impossible to hunt and harvest – at least that year.

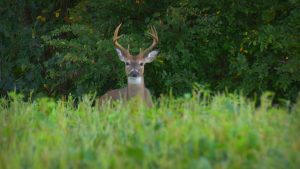
If a trail camera deer survey seems a little intense for you, switching your cameras into scouting mode can be very rewarding, especially if you are hunting in a state that has an early bow season, like Missouri. At this time, the summer bachelor groups have begun busting up and mature bucks are typically changing their patterns from a food-cover, food-cover routine to a bit of overt dominance hierarchy sorting out.

This means that some bucks will shift to using other parts of their home range to avoid frequent conflict. Their movement and behavior patterns are changing rapidly during this time of year, which means that M.R.I. (Most Recent Information) is critical, but difficult to obtain. Information a week old can be out of date this time of year. This makes selecting stand/blind sites tough.

To stack the odds in my favor I use a combination of M.R.I., past history, and knowledge of food preference when deciding where to place my stands/blinds. For example, a recent Reconyx image (within few days) of a buck on my hit list, combined with knowledge that a mature buck has used that area in the past, and knowing what the current preferred food sources are during the first week of archery season is enough data for me to select and hunt a specific location.

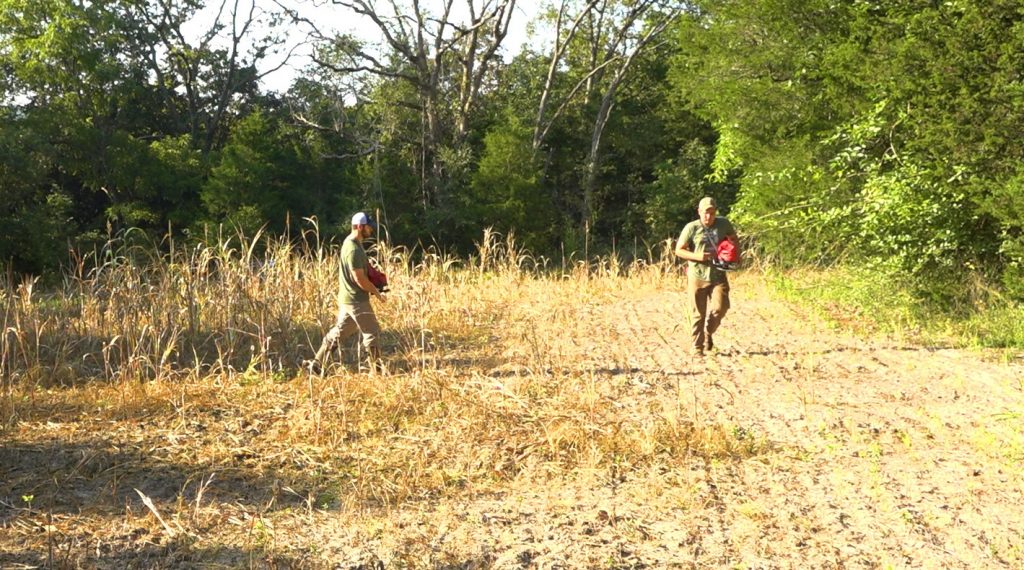
Don’t leave your trail cameras in the closet or sitting on the garage shelf! Get out in the woods and put those trail cameras to work!

Growing and hunting deer together,

Grant

How To Estimate A Buck’s Score By Guest B&C Expert – Episode #403

By GrowingDeer,

Learn how to estimate a buck’s score from a guest Boone & Crockett expert

New Video

Most hunters want to know what a buck scores. This can be difficult when trying to estimate a buck’s score in a hunting situation. This week, our friend Richard Hale, Chairman of the Boone and Crockett Records committee, shares his personal method for estimating antler scores before the shot!

Click Here To Watch Now

A bot fly pesters a doeShort Clip:

Here’s a cool moment that was captured in creation! Watch this bot fly and doe interaction!


Watch Now


Mature buck in a food plot

New Weekly Blog:

To harvest big bucks there have to be big bucks in the area. The buck age structure and quality of habitat have a huge influence on the number and quality of bucks on a property. Find out why the most satisfied hunters have realistic expectations where they hunt.


Click Here

A hunter wears rubber boots when checking a Reconyx trail camera to help minimize scent

Tip of the Week:

Human scent can alert deer and influence their movement. Wearing rubber boots when checking trail cameras is a great way to help minimize scent left in the woods and reduce alerting deer in the area.

  Category: Eblast Archives
  Comments: Comments Off on How To Estimate A Buck’s Score By Guest B&C Expert – Episode #403

Deer Hunters That Are The Most Satisfied Have Realistic Expectations

By GrowingDeer,

Folks are realizing that to hunt mature bucks, mature bucks must exist. For example, hunting mature bucks on properties where a majority of the yearling bucks are shot each year is often very frustrating.

The primary determinant of antler size is a buck’s age. Hence allowing bucks to mature before harvesting them is the most efficient method to produce large antlers. Providing good quality habitat allows bucks to produce larger antlers at an earlier age.

Mature buck in a food plot

To produce mature bucks year after year there needs to be trigger finger management and quality forage.

The more mature bucks in the area the better the odds of having an encounter. A higher percentage of the total buck harvest is usually composed of mature bucks in states with a more restrictive bag limit for bucks. Kentucky and Kansas are good examples of states with a restrictive buck bag limit and a trend of producing great mature bucks annually.

This is just a trend. I’m aware of individual properties in most states that produce great mature bucks. These landowners or deer management cooperatives usually establish more favorable deer harvest guidelines than imposed by the state’s regulations.

Simply allowing bucks to reach maturity doesn’t mean they will express their full antler growth potential. Bucks need an excellent source of nutrition throughout their life to express their full antler growth potential – in addition to living to maturity. Even further, the health (good food, limited stress) of the buck’s mother has an impact on the buck’s health and his ability to express his genetic potential.

This means that simply increasing the quality of a buck’s diet for a year or two won’t necessarily allow him to express his full potential. The overall health of a buck (or other critter) is substantially impacted by their development years. When Tracy and I purchased The Proving Grounds, it was a horribly overgrazed cattle ranch. We’ve now owned it for 15 years and spent a lot of time and resources improving the habitat. Through the years, we’ve seen a substantial improvement in antler and body size of bucks that have been provided nutritious forage options.

This process can take much less time if the property is in an area where quality nutrition has never been a limiting factor and the only missing piece of the deer management puzzle is allowing bucks to reach maturity. In other words, the lower the quality of habitat, the longer it will take to allow the herd to express its full potential. However, such land usually costs much less than row crop land where good nutrition has been available year-round for many years.

I really enjoy the process of managing and hunting for mature bucks. I like going on suitcase hunts – hunting properties that I show up for a week or so a year and my only management activity is deciding to pass or pull the trigger. However, my passion is growing and hunting mature bucks. If you share my passion, we’ll keep learning together.

Enjoy Creation,

Grant

  Category: Deer Management, Hunting Blog
  Comments: Comments Off on Deer Hunters That Are The Most Satisfied Have Realistic Expectations

One of the most important things to know before climbing into the stand! – Episode #402

By GrowingDeer,

Learn how to age bucks and habitat management tips in GrowingDeer episode 402.

New Video

Aging bucks during most hunting situations can be tough! That’s why we’re starting now. As Grant goes through our Reconyx images he shares tips on how to determine a buck’s age by physical characteristics. Some of these bucks are going on our 2017 hit list! Plus, Grant shares lots of habitat management tips for hunting land.

Click Here To Watch Now

The path of the bow shot that harvested Tall 8, a mature buck.Short Clip:

As we prepare for deer season, we remember one of our favorite hunts from last season! It was November 4th and mature bucks were on their feet!


Watch Now

Whitetail buck head up on the alert

New Weekly Blog:

Hunting the wind correctly can be a hunter’s primary strategy for successfully harvesting deer, especially mature bucks! Find out how to hunt the wind and get a leg up for hunting this fall!


Click Here

A tree stand safely secured to a tree for hunting

Tip of the Week:

Treestand safety applies to hunting, hanging and trimming stands! You should always be attached to a safety line or tied to the tree. If you are working in the tree while your buddies are on the ground, make sure they are aware and out of the way, in case something falls.

Strategies For Hunting The Wind – Part 2

By GrowingDeer,

Deer hunting on flat ground has advantages that include producing better quality forage so bucks can express more of their potential and being able to predict the prevailing wind direction while having fewer thermals. Hunting the wind correctly can be a deer hunter’s primary strategy for successfully harvesting deer, especially mature bucks that have reached an older age because they learned to avoid predators.

Buck on alert

Hunting the wind correctly reduces the chances of alerting deer. Deer that are alerted repeatedly tend to avoid those areas during daylight hours. I recommend avoiding alerting deer when possible. This may mean moving your stands off food sources and closer to bedding areas.

Remember alerting deer during your approach and exit are just as damaging as alerting them while you are hunting. Plan your travel routes carefully. Here are a few strategies that I use in various hunting situations:

  • In the pre-season I try to locate at least four good stand/blind sites. One for each possible wind direction. This allows me to hunt during almost all conditions. It’s okay to have multiple stands/blinds overlooking the same area but for different winds. I’d much rather setup with a crosswind. I call this threading the needle. My best hunts are often when the wind is such that I feel I’m on the edge of getting busted. I’ve experienced good success of mature bucks responding to grunts and coming into bow range using this strategy.
  • It’s tough to set up near bedding areas. I try to find a location with a crosswind. That is to say the wind and thermals carry scent away from the bedding area and travel route where deer enter and exit the bedding area. Such setups are very difficult to find. If this setup isn’t available where you hunt then the next best situation is to setup for either only morning or afternoon hunts so the direction of deer travel can be forecast with some accuracy. This often means that the wind is blowing toward the bedding area in the morning or away from it during the afternoon.
  • I like a favorable wind even when I’m hunting in an enclosed Redneck Blind. I often use the screen window frames and cover them with a thin clear film (like a clear plastic cooking wrap). I open the window I will shoot a bow out of and put the wrapped frame in the opening. I’ve tested shooting a broadhead through the wrap and my arrow flies great! I’ve had deer downwind in this scenario without getting busted.
  • When hunting during the rut with a normal or colder than normal temperature and wind at least seven miles per hour consistently from one direction, I’ll hunt all day. If the temperatures are warmer than normal and/or the wind is mild and/or swirling, I’ll usually only hunt the early morning and late evenings when the thermals are predictable. You may wish to watch GrowingDeer #309. This shows an actual setup that I prepared for gun season using a crosswind to hunt two bedding areas and a feeding area.
  • Hunting from the ground is an exciting way to hunt but keep the wind in your favor. If the wind shifts either leave or change. Check the wind constantly. Often it’s best to time the hunt/approach of an area to occur just before or after you expect deer to be there. For example, stalk (with the wind in your favor) to a feeding area and arrive ten minutes before dark. This significantly reduces the chances of the wind swirling, etc. It’s not spending hours in the woods – it’s being at the right place at the right time. When hunting from the ground, rarely is the direct route the best route. Consider thermals and wind shifts due to topography, etc. Deer will avoid locations where they have been alerted or associate with danger.
  • Scent carries better during moist than dry conditions. So we rarely hunt from stands where the wind is likely to swirl when the humidity is high. During high humidity conditions we are more likely to select stand locations on ridgetops or areas where the wind is not blocked by vegetation or topographic features. At such locations the wind is much less likely to swirl.

I hope that using these strategies help you tag a deer this season – especially that mature buck you’ve been chasing for years!

Hunting and growing whitetails together,

Grant