Like the rest of the GrowingDeer Team, I really enjoy hunting with my kids. The hunting memories that are at the top of my list are those where I watched my daughters take their first deer and turkeys as young girls.
With hunter numbers declining, it’s important to pass along the tradition and recruit new hunters. Hunting is a tradition and pastime that not only boosts the economy but also connects people to their roots. I suspect that many kids might not get to go hunting it if wasn’t for youth season because their mentor would be too busy hunting and would not be focused on taking them hunting.
We always put a lot of work into scouting for youth season. We want the hunt to be enjoyable. If a youth hunt is enjoyable, regardless of a harvest, I consider it a success. The goal is to pass on the tradition of the hunt, a kill is secondary.
By the time youth season starts, we have always made sure both our girls shot a lot of rounds from the bench and hunting positions. They have always been prepared by knowing their weapon. They were confident in their shooting skills and ready to have some fun (watch Rae’s hunt from 2009 here).
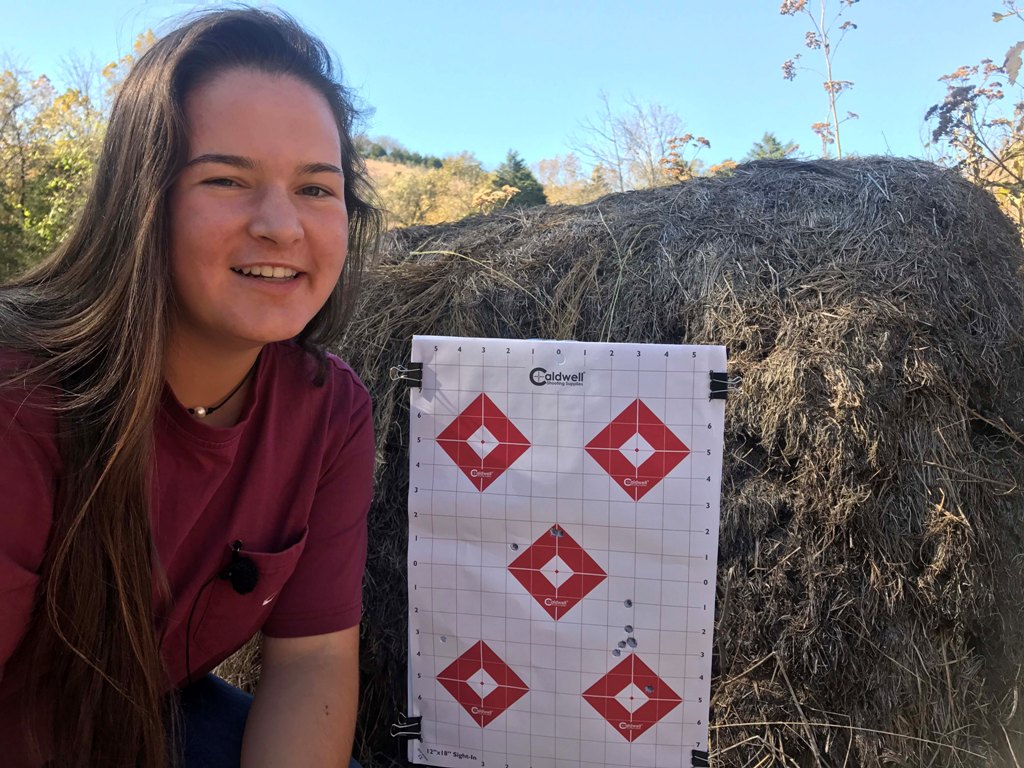
This year is no different. Rae has already been hunting with the crossbow while practicing with her Prime Centergy Air. She’s practiced with her rifle. After practice this week she returned proudly showing off her targets. Rae was shooting so well that she cut the same hole on the target! If you followed her season last year (watch Rae’s 2017 hunt here) you will understand why the practice this year is necessary to build her confidence!
My advice for success if you’re taking new or youth shooters out to practice, make sure you’ve got the appropriate safety equipment and what I call “comfort equipment.” I use a Lead Sled to take all the recoil out of the rifle. This way they can concentrate on shooting and having fun with no worries about the kick of a deer rifle.
I hope that this year you invest in the future of hunting. Take time to make it fun. Get some shooting practice in. Put some time into scouting. Pass on the tradition and give thanks to the Creator who made it all possible.
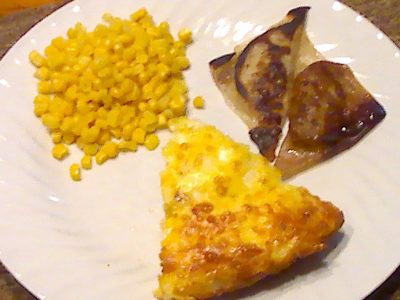
This recipe was inspired by the Warm You Up Sausage Quiche recipe here. Venison Quiche is a cool weather favorite at my house. It makes two very hearty quiches. I usually have plenty of leftovers!
If I know it will be a hectic day I pre-cook the venison and sausage and put it in the fridge. I simply take the meat mixture out of the fridge 15 minutes prior to making so it comes up to room temperature. I make one quiche with mushrooms and one without to accommodate the mushroom haters in my family.
When these come out of the oven be sure you are ready to eat! The baking powder gives the quiches that wonderful “puffy” delicious look but it only lasts for a few minutes before it begins to settle.
Venison Quiche Recipe
Ingredients:
1 pound ground venison, cooked
½ pound breakfast sausage, cooked and drained
12 eggs, beaten
½ cup flour
1 teaspoon baking powder
16 oz. small-curd cottage cheese
¼ cup melted margarine
3 cups shredded co-jack cheese
½ cup chopped onion, cooked until soft
4 oz sliced fresh mushrooms
Instructions:
Grease two 9-inch round baking dishes.
Mix ground venison and breakfast sausage together evenly.
In a large bowl combine eggs, flour and baking powder together thoroughly.
Add cottage cheese, melted margarine, shredded cheese and onion to egg mixture.
Spread sliced mushrooms into bottom of one dish.
Spread ½ of meat mixture evenly into each dish.
Spread ½ of egg mixture evenly into each dish. Dishes will be very full.
Cook in 375 degree oven for 35 – 40 minutes or until a knife inserted near the center comes out clean.
Every year hunters put out trail cameras hoping to discover a Boone & Crockett buck is calling their land home. For most of us, it is more likely we see pictures of a deer that has some sort of antler abnormality than a true Booner. The cause behind odd or non-typical antler growth boils down to two main factors, injuries and genetics.
Injuries to the body, pedicles and the antler itself during velvet all have the capability to cause an antler abnormality. The good news is that two of the three (pedicle injuries being the oddball) are typically short term as the deer will grow a normal set of antlers the following season. Abnormal antlers caused by genetics will not “heal”; the buck will likely have unique antlers for life.
This brings me to the often debated subject of the “cull buck.” There has been a long held belief that in order to improve a local deer population, it is necessary to shoot cull bucks. Should you shoot a cull buck? No and yes. If your goal is to eliminate a buck from the population because you want a better gene pool, you are fighting a losing battle. In a wild, free-ranging population it is impossible to control what genes are being passed down because you are not controlling what buck breeds with what doe. More importantly does carry most of the heritable antler traits. However, there’s no way by looking at a doe to know if her offspring consistently produce larger than average antlers.
At The Proving Grounds there’s a buck named Cactus Jack that some might consider a cull buck. We have pictures of Cactus Jack from multiple seasons and his antlers are probably the result of a testes injury. This is commonly the cause of “cactus” bucks. Cactus Jack is most likely four years old and we will happily harvest him this season if given the opportunity. If he was three and a half years old or less, we would pass. Even though one of our goals is to reduce the local herd population, harvesting bucks only has a short term impact.
It is much more effective to harvest does to reduce the population. Besides, even bucks with odd shaped antlers usually produce larger antlers as they mature!
Recently James Harrison and I sat down to do a Facebook live. James is a World Champion turkey caller. Those calling skills don’t end in the turkey woods. James is also an expert deer caller!
The focus of the live event was deer vocalizations that will help hunters get deer in range throughout the whole season.
Watch the video below (and listen carefully to the vocalizations) to learn about: early season, pre rut, rut, and post rut calling strategies, calls for different habitats, blind calling, strength/volume for calling, timing, and more!
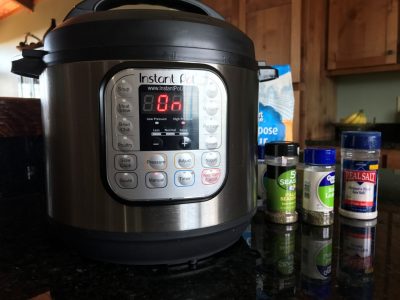
In previous blogs, I’ve shared how I am learning to cook venison in the Instant Pot. As cooler temperatures have arrived, I transitioned a favorite “comfort food” recipe for Cubed Venison Stew to an Instant Pot recipe. A recipe that once took all afternoon to simmer was cooked and ready to eat in under an hour (prep time approximately another 15 minutes). If you don’t have an Instant Pot I’ve also included stove top directions. If you like stewed beef and rice, you will LOVE this recipe for venison.
Savory Cubed Venison Stew: An Instant Pot Recipe
Ingredients:
Herb mayonnaise:
Mix together in a separate bowl:
1 ½ cups Mayonnaise
1 ½ tablespoons Italian seasoning blend
Seasoned Flour:
Mix together in a separate bowl:
2 cups all purpose flour with the following herbs: ½ tsp. garlic, ½ tsp. thyme, ½ tsp. basil, ½ tsp. oregano (OR 1 ½ – 2 tsp. Italian seasoning blend + the garlic), and salt and pepper to taste.
Stew Mixture:
2 lbs. venison roast cut into 1 inch cubes
1 tablespoon canola oil
2 celery sticks roughly chopped/sliced
½ cup onion, chopped
2 cups water
4 beef bouillon cubes
2 tsp. thyme
1 bay leaf
¾ stick butter
Salt and pepper to taste
Directions:
Set the Instant Pot to sauté function, add canola oil.
Mix Italian herb blend into the mayonnaise to make an herb mayonnaise. Dredge the cubed venison in the seasoned flour.
Place venison into the Instant Pot. Cook for 2 minutes. Add the onion and celery. Let the floured venison brown just slightly. It’s better to err on being barely brown than to be overly brown and crispy. Stir occasionally.
Add the remaining ingredients.
Put the lid on the Instant Pot and seal. Use the manual setting timed to 40 minutes with natural pressure release.
Enjoy over rice (which can also be cooked in the Instant Pot!).
This can be cooked on the stove top. Follow the same steps but use a large pot. Sauté/brown the meat and vegetables on a medium high temperature. Add the remaining ingredients. After heating thoroughly (but not boiling), turn the heat to low. It will take up to 3 hours for it to tenderize, stir occasionally and watch your water/liquid levels. If it starts to become dry, add more water and stir. Hint: for the stove top cooking method it is better if your meat is in smaller ¾ inch cubes.
Using an Instant Pot to cook venison is a natural fit for busy cooks. Why? Because an Instant Pot electric pressure cooker cooks food faster and under pressure which can turn a tough cut of meat into a cut of meat so tender Grandpa can eat it with his dentures (out)!
Want to know more about the benefits of pressure cooking foods? There’s tons of info online including instructional YouTube videos and a Facebook page for sharing and talking about cooking with the Instant Pot. Here’s a link to an article that explains why pressure cooking in these new, modern, “not scary” electric pressure cookers makes so much sense. Take some time to learn and join me on this new cooking adventure!
I hope you enjoy this venison recipe as much as my family did! I’ll be sharing more recipes with you soon!
If you’re like me, you spend all year waiting until the temperature cools and leaves begin to drop, itching to get into a tree stand. I’ve been interning for a little over a month and one thought comes to my head daily, “Man! I wish I was lucky enough to have my own Proving Grounds.” I’m sure many others have the same thought when watching GrowingDeer and seeing their success. The good news is that you do have your own Proving Grounds – roughly 640 million acres of it.
Most people do not realize that we are the only country in the world with this unique system of public lands that is available to everyone and most of it is open to hunting. A quick search on your state’s game and fish or natural resources website will yield all of the public lands accessible to you, both state and federal. Most have specific details about each area – maps, regulations, harvest data, etc.
Don’t forget about preparation! Just because you don’t have your own piece of hunting property doesn’t mean you can sit around all year waiting for the season. You don’t have to dedicate your time to planting food plots, putting out trail cameras, hanging tree stands, and all of the other activities that come with having your own property but you still need to use your time wisely! This means scouting, scouting, scouting.
Two of the details I mentioned earlier are the biggest components for scouting public land and you don’t even have to get off your couch. Maps and harvest data for specific locations can give you a great head start on your plan for the fall. Identifying map features such as pinch points and travel corridors for deer can save you time before you scout in the field. Looking at previous year’s harvest data will show you how much pressure will be in the area. Deer dislike pressured areas so if you’re willing to hike further than the next person, you’re one step closer to a public land bruiser.
After learning how our public lands came to be, it makes the thought of harvesting an animal on them that much more appealing. Thanks to people like Teddy Roosevelt who had great foresight to set aside lands for the American people, I’ll be trying my hand at a public land buck this fall.
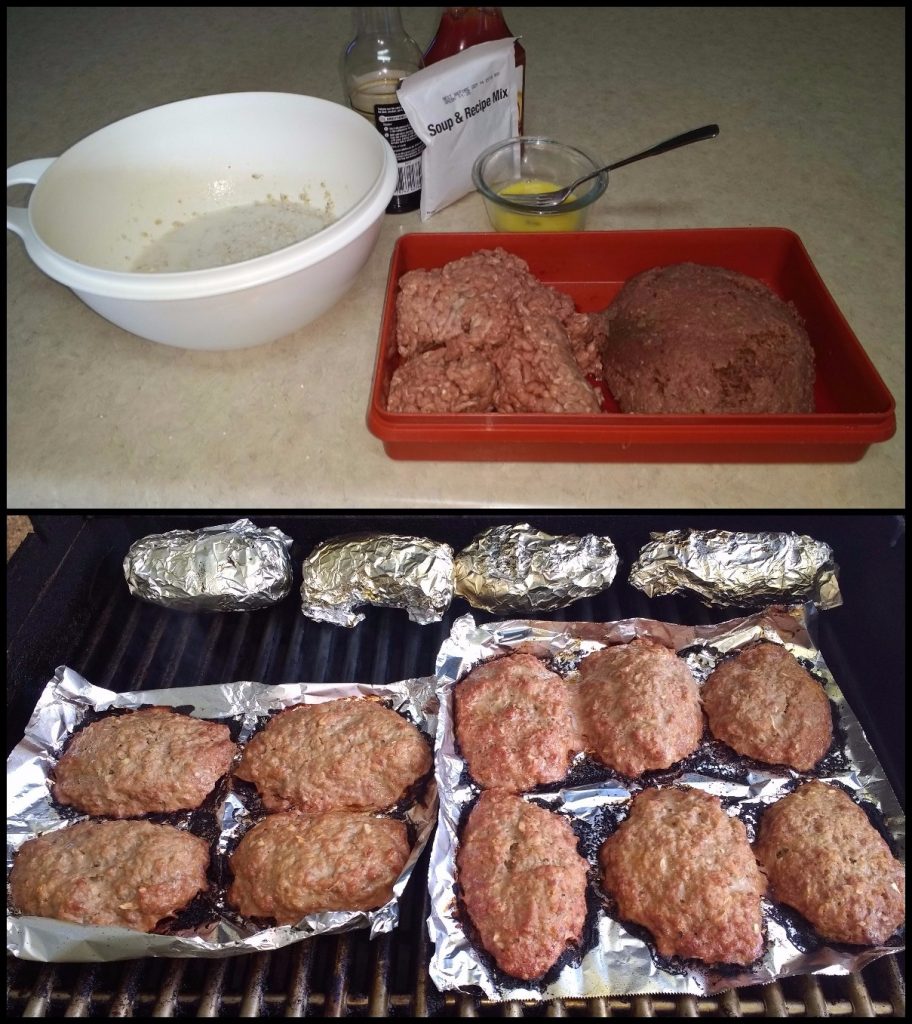
You do not have to be a hunter to enjoy venison. This recipe is proof! Several members of my family do not hunt yet they all enjoy a good meatloaf. In fact, this recipe is my father Larry’s favorite.
Keep in mind recipes are just suggestions. This will work with your favorite meatloaf recipe. I would recommend you use part venison and part ground chuck. The ground chuck has more fat in it and keeps the venison moist. I shape these into mini-meatloaves because they cook in 30 minutes, quick enough for a workday supper.
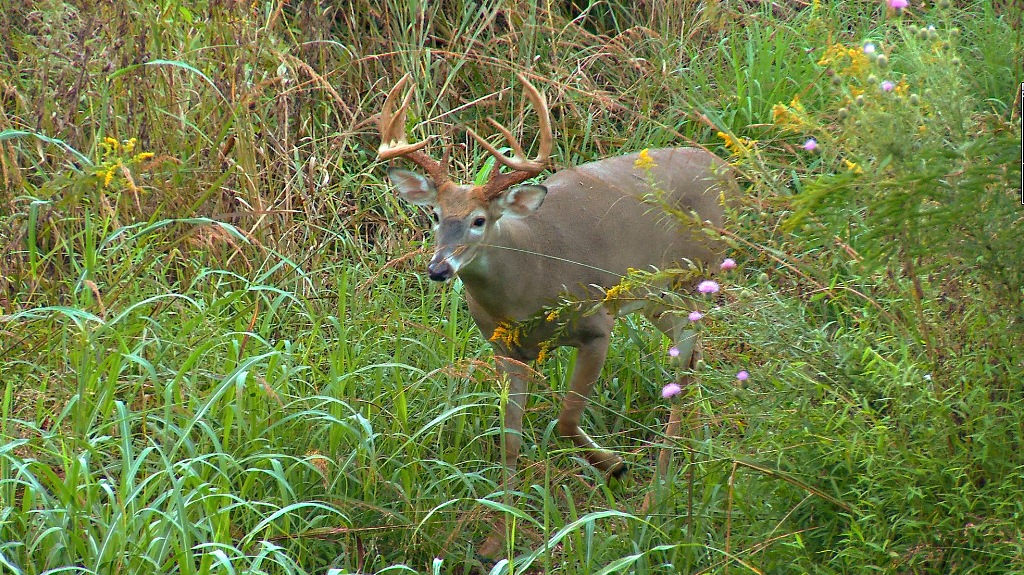
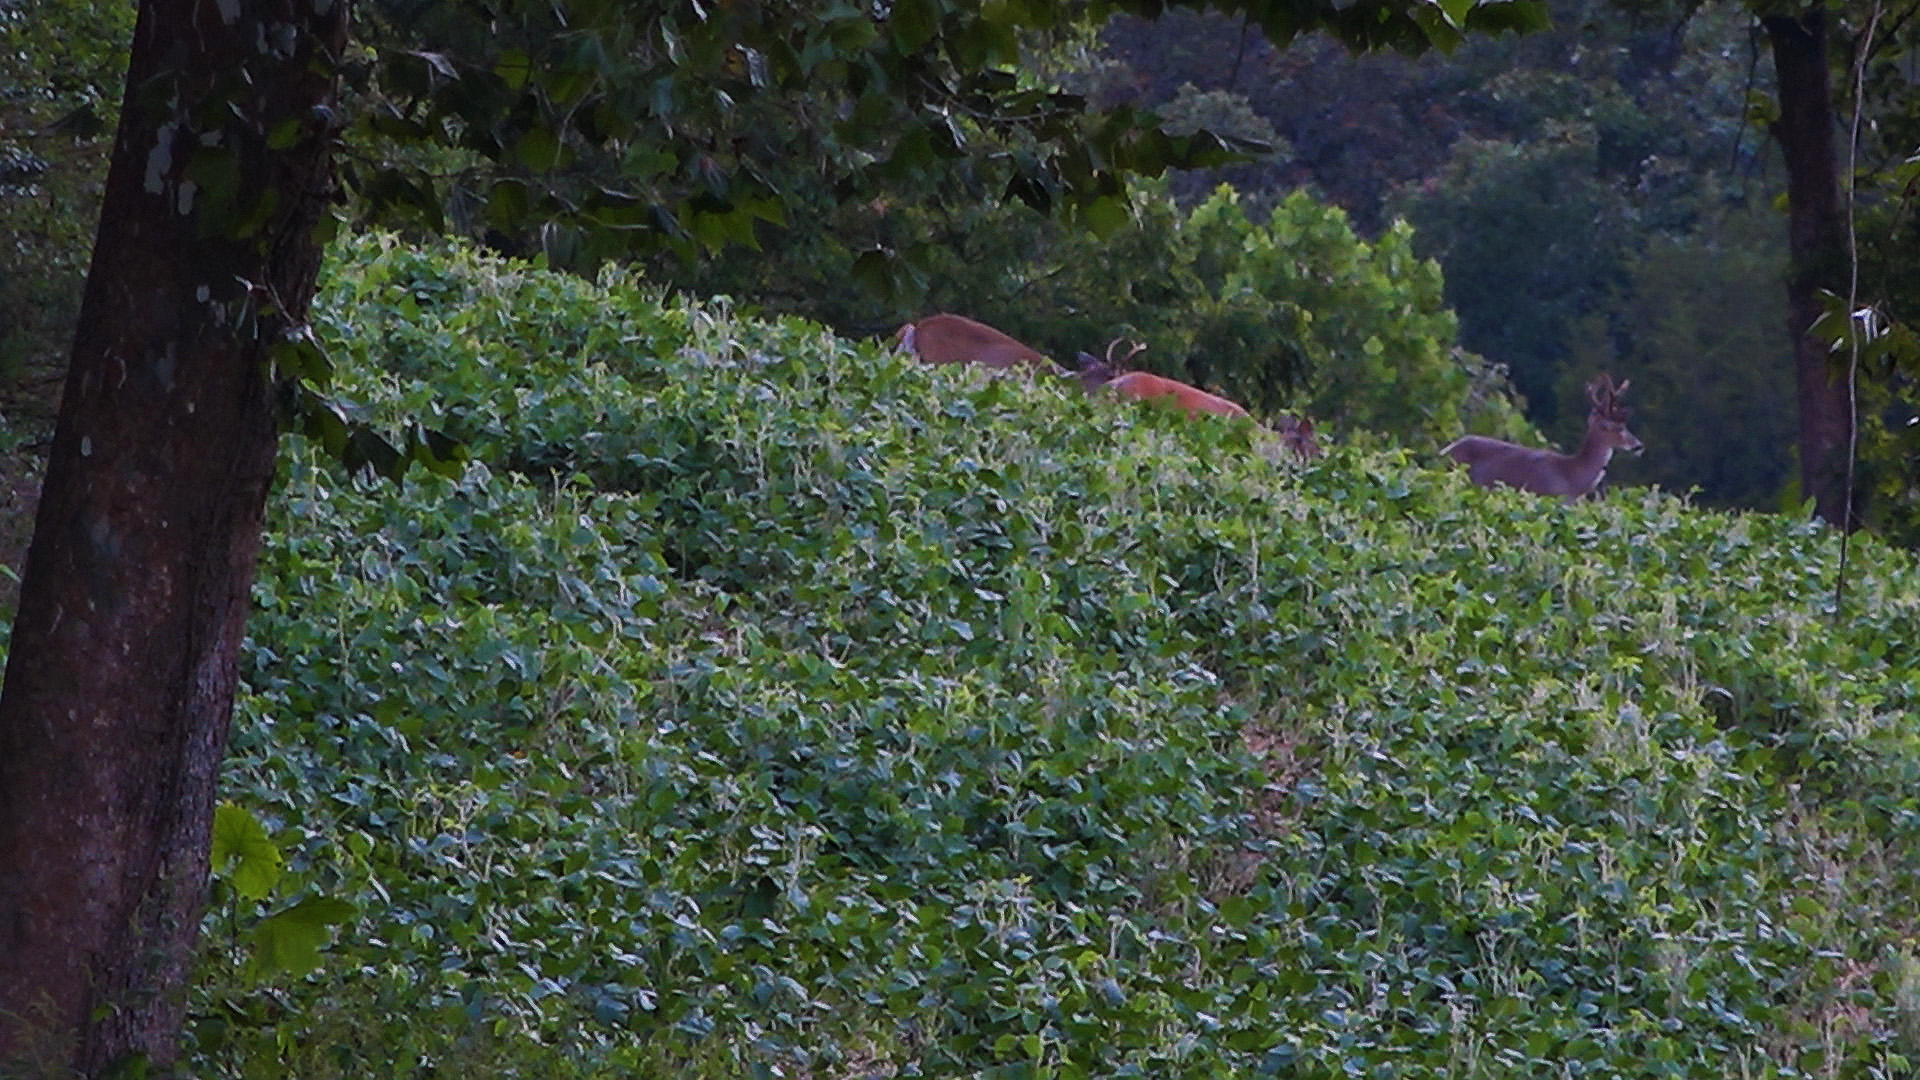
Many deer hunters are now busy scouting for deer season. When you’re scouting you should not only pay attention to where the deer are, but what they look like. Specifically, what does their coat look like? Pay attention to those trail camera images. Do they reveal deer that suddenly have spots of red and brown hair? Do the coats of these deer appear shaggy and unhealthy? This small detail can yield big dividends when planning where to hang your next stand. Read on to understand why.
White-tailed deer appear this way because deer molt or shed their hair twice a year. This time of year the short reddish hair falls out and is replaced by longer gray hair. The short reddish hair was their summer coat. The reddish or lighter color hair reflects the sun’s energy compared to the darker winter hair which absorbs the sun’s energy in the form of heat.
During the spring the opposite is true. During late March (typically, depending on location) deer shed the darker gray, longer hair and replace it with the thinner, shorter reddish hair. The timing of molting seems to be trigged by factors other than current conditions.
This information can be used by hunters to pick stand locations during the early season. For example, let’s assume deer where you hunt have already started getting their winter coat and the temperatures are still warm or warmer than normal. Deer won’t move much during daylight hours and will bed in areas where they can stay cool during these conditions. This means deer will likely bed on north facing slopes or in shady areas where there’s a breeze. They probably won’t move much during the heat of the day and will typically arrive at food sources just at dark or later.
You can use this information to select stand sites based on the deer’s coat color and daily temperatures in your area. Understanding this simple biology can make you a more successful hunter!
Let us know what you are seeing by posting on our Facebook page! It’s a great way to get into conversation with other deer hunters.